Repairing Exterior Cement Plaster Chips in Coastal Walls
Classification
Commercial Maintenance
Timestamp
March 2026
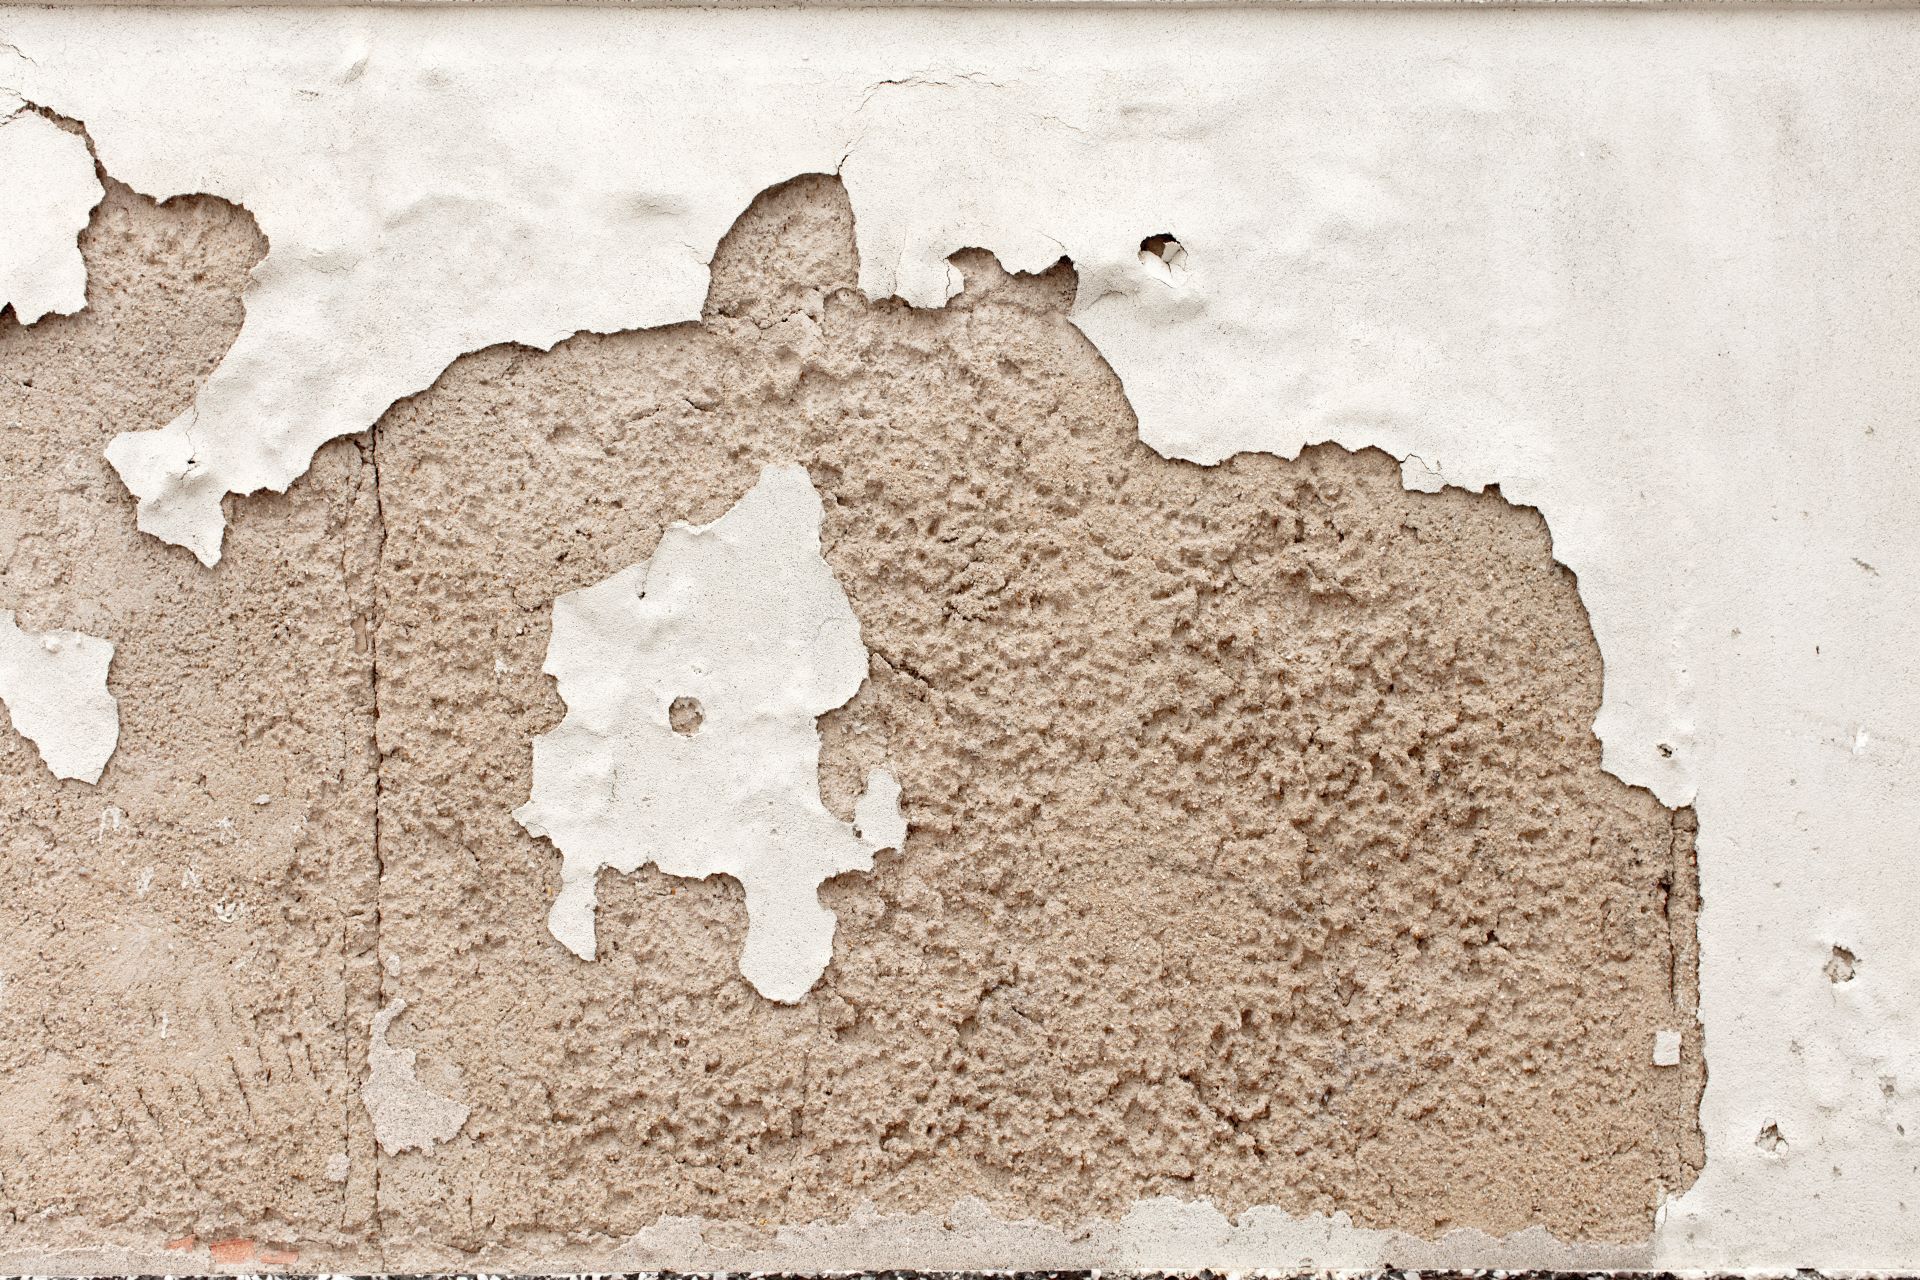
The Vulnerability Behind Exterior Plaster Chips
Exterior cement plaster forms the protective skin of a building, shielding the structural layers beneath from wind, rain, and thermal movement. When that skin is damaged, even through small chips, the exposed substrate behaves like a wound left open to weather.
In a coastal environment such as Cape Town, the problem becomes more pronounced. Salt-laden air, driving rain, and constant humidity cycles slowly pry at weakened plaster edges. What begins as a tiny nick can expand into a creeping area of deterioration if moisture finds its way behind the surface layer.
Homeowners sometimes underestimate the importance of repairing chips quickly. They assume that because the damage is visually small, the structural risk must also be small. In reality, exterior plaster systems function as integrated barriers. When one point fails, the surrounding material begins sharing the stress load unevenly.
Think of plaster as a woven shield rather than a rigid plate. Remove a few threads and the entire fabric starts stretching differently under environmental pressure.
The primary goal when repairing chips is not simply covering the defect but restoring continuity. Patch matching therefore becomes both a technical and aesthetic challenge.
Understanding Why Cement Plaster Chips Occur in Coastal Walls
Cement plaster chips rarely appear randomly. They are usually the visible symptom of deeper mechanical or environmental stress.
Thermal expansion is one of the main drivers. South African coastal cities experience strong daytime heat followed by cooler evenings. Exterior walls expand during warmth and contract as temperatures drop. Over time, these micro-movements can fracture rigid plaster bonds.
Moisture penetration is another major factor. If water enters small surface pores, it may freeze, swell, or simply weaken the cement matrix through chemical softening. While Cape Town seldom experiences freezing conditions, salt crystallisation can produce similar internal pressure.
Poor original bonding is also common. If plaster was applied onto dusty, poorly primed, or uneven masonry, adhesion failure can occur beneath the surface. The result is a chip that looks sudden but actually formed slowly like a bubble preparing to burst.
Mechanical impact damage should not be ignored either. Garden equipment, accidental ladder strikes, or even drifting gravel during storms can nick exterior surfaces.
The repair strategy must therefore begin with understanding the cause. Covering a chip without addressing underlying moisture or bonding issues is like placing a beautiful bandage on a restless fracture.
The Risks of Leaving Plaster Chips Unrepaired
Small exterior chips may appear harmless, but they function as invitation marks for environmental wear.
Once the substrate is exposed, water absorption accelerates. The rough internal surface of a chip acts like a microscopic sponge edge. During rain, moisture pools inside the defect and slowly travels sideways under the surrounding plaster layer.
Salt accumulation is particularly relevant in coastal construction. When seawater aerosols settle on wall surfaces, they leave mineral deposits. These salts migrate with moisture cycles and can grow crystals inside tiny cracks. As crystals expand, they push plaster fragments outward.
Structural reinforcement materials beneath the plaster may also be vulnerable. If reinforcing mesh or concrete steel is exposed, corrosion risk rises dramatically. Rust expansion exerts pressure from within, causing surface bulging or further chipping.
Aesthetic deterioration should not be underestimated either. Exterior walls represent the architectural character of a property. Repeatedly patched surfaces using mismatched material create a visually chaotic finish that reduces property value.
Early intervention keeps repair costs low. What begins as a minor patch job can become full wall resurfacing if ignored for several seasons.
Assessing Chip Depth and Damage Extent
Before applying any patch, inspect the chip carefully. Surface chips behave differently from deeper structural losses.
Use a small probing tool or even a stiff wooden pick to test the edges of the damaged area. If loose powdery material continues falling away, the damaged zone is likely larger than it appears.
Observe whether the chip is shallow, revealing only the finishing coat, or whether it penetrates the base plaster layer. Multi-layer plaster systems require layer-specific repair.
Lightly tap the surrounding wall surface with a hard object. A hollow sound may indicate hidden detachment behind the visible surface.
Moisture testing is also helpful. Press a dry cloth onto the area for several minutes. If dampness appears on the cloth, underlying moisture movement is present.
At this stage, mark the boundaries of repair using chalk or removable tape. The repair zone should always extend slightly beyond the visible damage. Working only inside the chip’s outline often produces weak feathered edges that break again under weather stress.
Colour and Texture Matching for Patch Repairs
Patch matching is where craftsmanship begins to shine.
Modern cement plaster walls often contain pigments, sand fractions, and finishing additives that influence appearance. When repairing chips, simply using grey cement will almost certainly create a visible scar.
The first task is analysing the wall finish. Determine whether the wall is smooth, sand-textured, or coarse-rendered.
If possible, collect a tiny sample of the original plaster material from an inconspicuous location. This sample helps guide mix formulation. Even small variations in sand particle size can change light reflection.
Colour matching requires patience. Add pigment gradually rather than dumping dye into the mix. Remember that wet plaster appears darker than its cured version.
A useful technique is preparing a trial patch on a small board using the intended mixture. Allow it to dry fully under similar environmental conditions before comparing it with the wall.
Texture replication is equally important. If the wall was originally finished with a sponge float, recreate the same motion during final setting. If the surface was trowel-smoothed, mirror that movement.
Avoid creating a perfectly flat island patch on a textured wall. Human eyes are remarkably good at detecting geometric irregularities. The goal is harmony rather than perfection.
Step-by-Step Patch Preparation and Application
Begin repair work by cleaning the damaged zone thoroughly. Use a stiff brush to remove loose dust, salt deposits, and crumbling plaster fragments.
If the substrate feels smooth and non-porous, lightly roughen it using sandpaper or a small masonry chisel. This improves mechanical bonding.
Apply a bonding primer suitable for exterior cement repairs. This primer acts like molecular glue, helping new plaster grip the old surface.
Mix the repair plaster using fresh cement, clean sand, and water in correct proportions. For coastal construction, some contractors prefer adding polymer bonding agents to improve resistance against moisture ingress.
Apply the plaster mixture using a small spatula or pointing trowel. Press firmly so that the material pushes into microscopic surface irregularities.
Build the patch slightly higher than the surrounding wall surface. This allows for subsequent shrinkage during curing.
Once the patch reaches initial setting stage, shape the surface texture to match the wall. Work gently. Overworking the surface while it is drying can weaken the bond and create microcracks.
Avoid repairing during extremely hot wind conditions because rapid surface drying can cause shrinkage cracking. Early morning or late afternoon work periods are usually more stable.
Finishing, Curing, and Weather Protection
Proper curing determines whether the repair will survive coastal weather cycles.
Lightly mist the patch area with water during the first 24 to 48 hours after application. This slow hydration process allows cement crystals to form stronger internal bonds.
Cover the repair zone with breathable protective sheeting if strong wind or direct sun exposure is expected.
After curing, evaluate colour integration. If the patch stands out visually, consider applying a thin coat of matching exterior paint over the entire wall panel rather than spot painting only the repair.
Exterior paint not only improves appearance but also adds another moisture barrier layer.
Choose paints rated for coastal environments, especially those designed to resist salt and ultraviolet degradation.
Maintenance Strategies for Coastal and Urban Walls
Regular inspection is the most effective maintenance strategy.
Walk around exterior walls every few months and check for new microchips or hairline cracks. Pay special attention to wall corners, window surrounds, and areas exposed to prevailing winds.
Clean walls gently to remove salt deposits and airborne dust accumulation. Avoid high-pressure washing on recently repaired plaster, as mechanical force can reopen weak bonds.
Vegetation growing close to walls should be trimmed back. Roots and climbing plants can slowly pry at plaster edges and introduce moisture retention zones.
If small chips reappear repeatedly in the same location, deeper structural investigation may be necessary. Persistent damage may indicate movement in the masonry substrate rather than simple surface wear.
Exterior cement plaster repair is both science and craft. The wall is not merely being patched; it is being persuaded to continue standing quietly against the ocean winds, sunlight, and time itself.
With careful preparation, patient colour and texture matching, and respectful curing practice, a chipped wall can return to its protective duty without announcing its injury to the world. And in coastal cities where weather writes its story daily on building surfaces, such quiet resilience is worth nurturing.